Checklist: What to Bring When Exploring Ancient Ruins
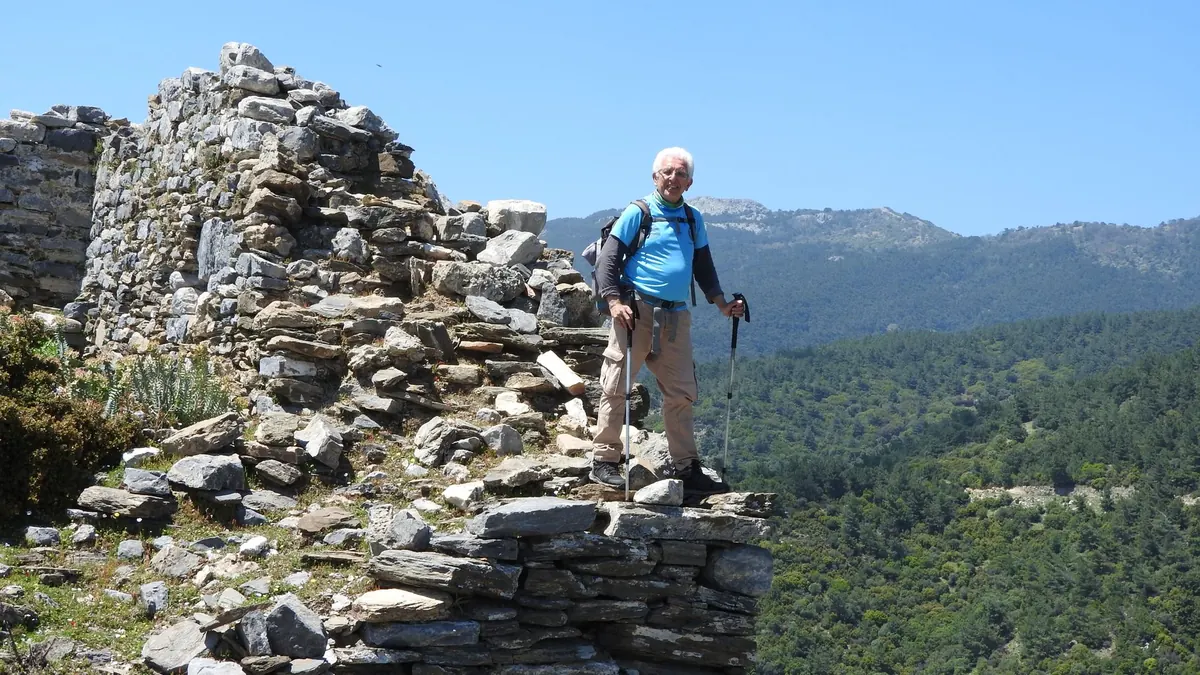
The best ruin days start early, in wet grass, on a slope that looked gentler on the map. You will be fine. You will be better than fine if you packed for the day you are actually having rather than the one you imagined from the car park. What follows is a working list for a full day of walking, looking and photographing at ancient sites: enough kit to stay comfortable, useful and legal, and not so much that the walk becomes a removal job.
Ruins are rarely surrounded by nice paths. You get tussocky meadow grass, loose rubble, slick limestone steps, and the compacted mud of a route walked by everyone since the coach park opened. Boots with ankle support and a proper tread handle all of it; trail shoes are fine for a flat Roman town or a walled garden, less so for the ditch and rampart of a hillfort.
Waterproofing matters more than warmth. Wet feet at hour three will end your day faster than cold ears ever will. Wool or synthetic socks, never cotton, and a spare pair in a dry bag. In summer, add gaiters or long trousers if you are pushing through nettles and brambles to reach a boundary bank. And when you are up on the earthworks, stay off the masonry. Mossy stone is slippery even in good weather, and the mortar holding a thirteenth-century wall together does not need your weight on it.
Exposed earthworks and ruined towers are windier and colder than the village you left twenty minutes ago. A base layer, a mid layer you can shed, and a shell that actually repels water will cover almost any British day from March to October.
Take a hat, and gloves in the shoulder months. Take long trousers for bracken and ticks, and check yourself afterwards — ticks like the warm folds behind knees and under waistbands, and a fine-toothed tick tool in your bag makes removal simple. A small microfibre cloth earns its place too; ruins are damp, and you will be wiping a lens or a viewfinder at least twice a day.
Think about what ruins actually look like. They are big shapes in a landscape, and small details on a wall, and rarely anything in between. That shapes your lens choices.
Carry the camera across your body, not dangling on one shoulder, so you can crouch down without it swinging into a wall. Crouch often. Most visitors photograph a ruin from the entrance path, standing up, at eye level. Kneel at the base of a wall, shoot along it instead of at it, and the site starts to describe itself.
Stay on marked paths where they exist, and resist shortcuts through fenced-off areas. In the UK, damaging a scheduled monument is against the law, and metal detecting on one without written consent from the relevant heritage body is illegal. If you find something interesting on the surface, photograph it where it lies and report it to the local finds liaison officer rather than pocketing it. The same instinct applies everywhere: look, record, leave it.
Tell someone your route and expected return time. Check opening hours and closures before you drive an hour, because sites shut for conservation work, storms and deer management. Read the weather for the hill, not the town. If you are walking alone on remote ground, keep the ambitious scramble for a day when someone is with you. And if you have a heart condition, a dodgy knee or a balance problem, a steep hillfort is worth a conversation with your doctor before you go.
If you want to fly a drone, check the site's own rules and the current aviation guidance first. Many historic properties ban take-off and landing on their land outright, and the answer is often simply no.
Low sun does the heavy lifting. Raking light at either end of the day turns banks and ditches into readable shadows; the same earthwork at noon in July looks like a lumpy field. East-facing ruins reward a sunrise visit, west-facing ones a late afternoon. Overcast days are not a write-off — flat, soft light is often the best possible light for carved stone, when nothing blows out and every chisel mark shows.
If you are stuck with midday, use it: shoot interiors, undercrofts and shade, and spend the bright hours walking the site and planning the frames you will take when the sun drops.
Ten minutes the evening before saves an hour of fumbling in a car park. Charge the camera and the phone, put freshly charged batteries in the bag, download the offline map, check the site's opening times and the forecast, fill the water bottle, and lay out your clothes in a pile. Put your boots by the door with your socks inside them, so you cannot forget either.
Then leave ten minutes earlier than feels necessary. Ruins belong to the people who arrive before the coach parties, when the only sound is wind in the grass over a wall that has been standing for eight hundred years.
Photo: Mahmut yılmaz / Pexels
Previous Post
A Beginner's Guide to Tracing Your Ancestors in Mercia
Next Post
Explainer: The Difference Between a Motte-and-Bailey and a Stone Keep Castle